Create a dynamic table in the Jasper report with JasperSoft Studio Tutorial
Sometimes we have to have a table like structure in our report. We can fetch data from the database and display it in the report. Since we don't know the size of the data set, the table structure in the report should grow dynamically. To chive this task, we can use the table element in the jasper report.
The output of the tutorial (Final Jasper report with a table)

Let's start creating a new jasper report.
If you are not familiar with how to create a jasper report, please refer to our JasperReports Getting Start tutorial.
To refer, how to create a JDBC data adapter please refer to our Create JDBC data adapter tutorial.
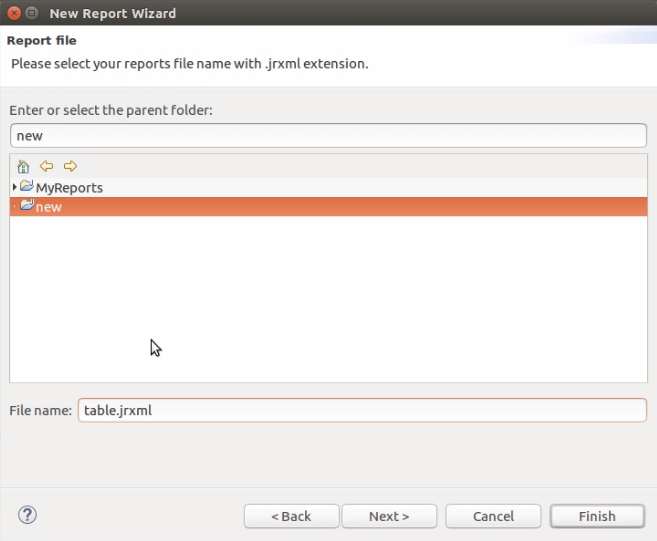
In the next screen, select the data adapter that you want. For this tutorial, I'm going to use mysql_data_adapter that we have created in the previous tutorial.
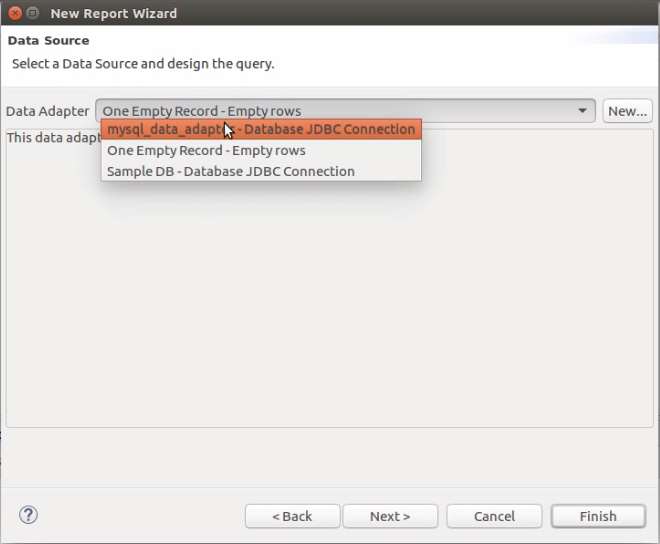
On the left side of the next screen, you can see all the tables available in our database. On the right side, I will add a dummy SQL query and click Next 3 times until you create the report template.
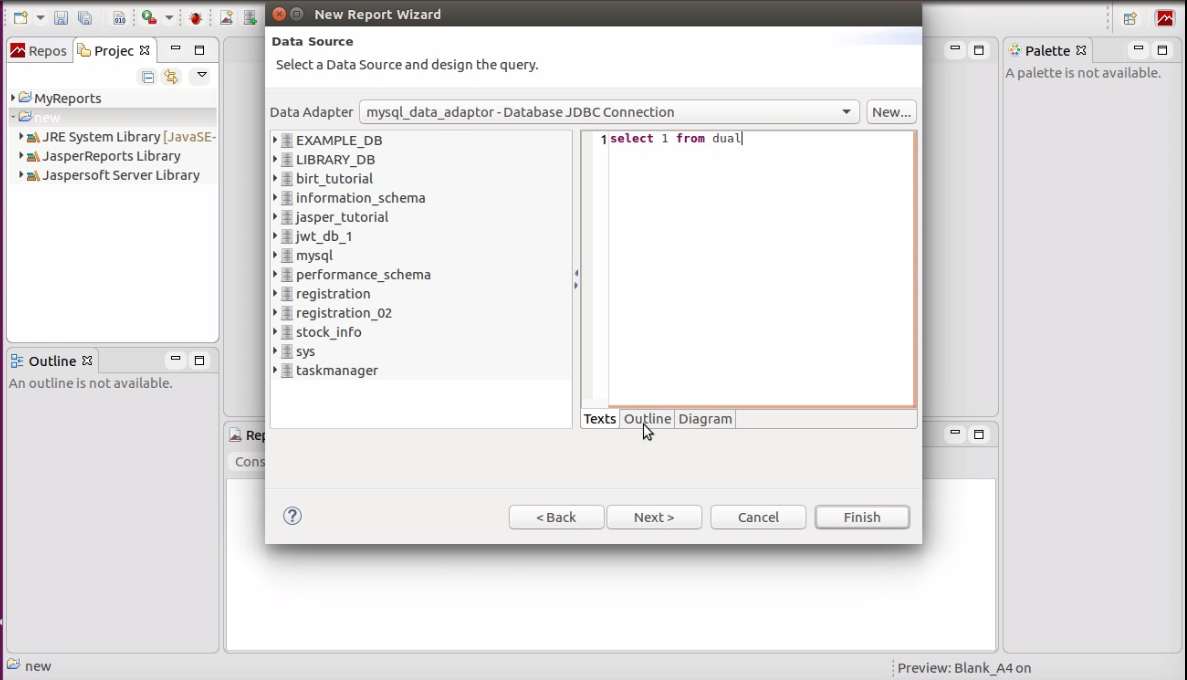
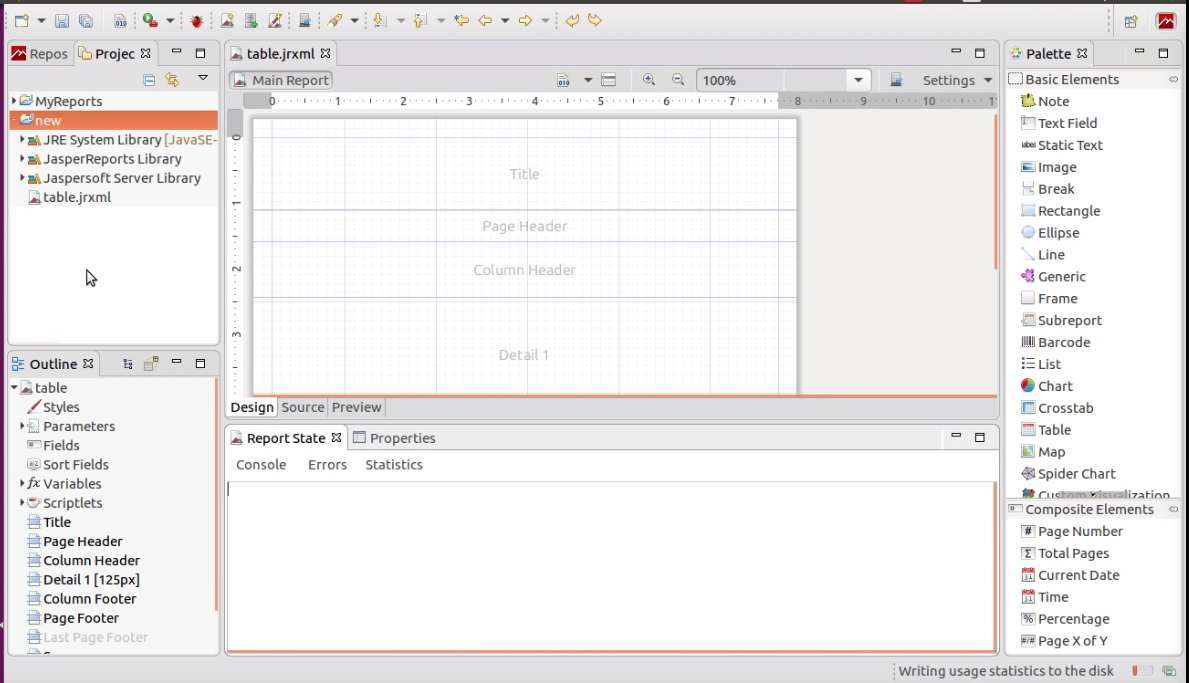
Drag and drop a table element into your Main Report.
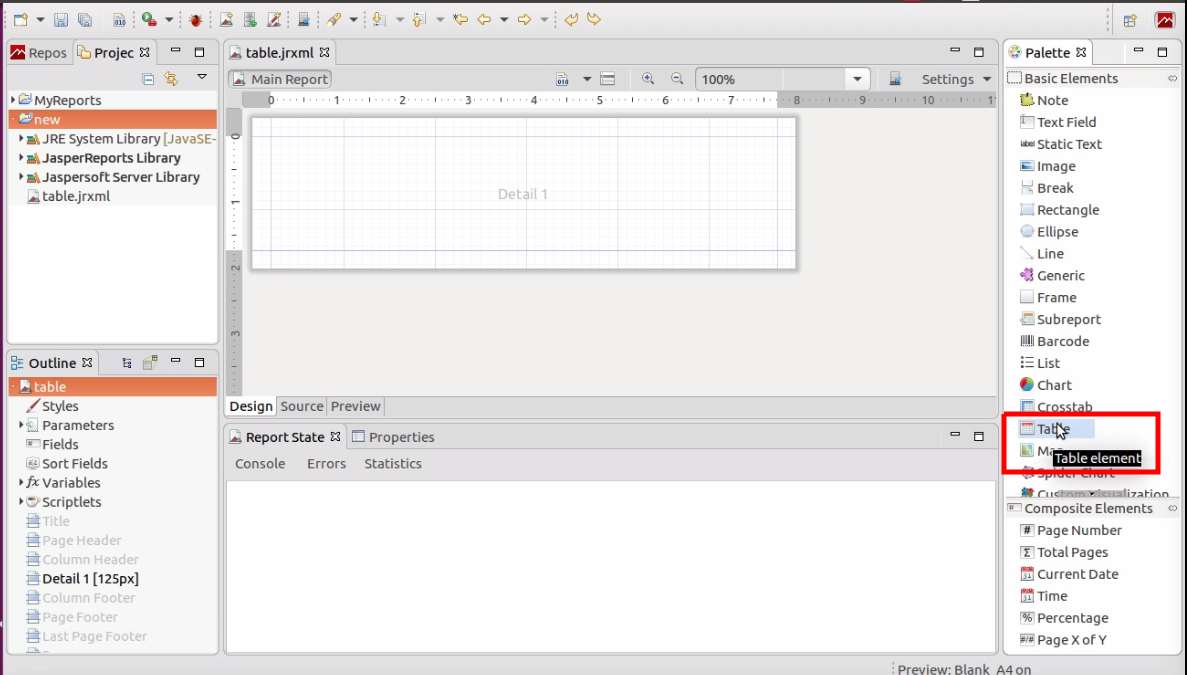
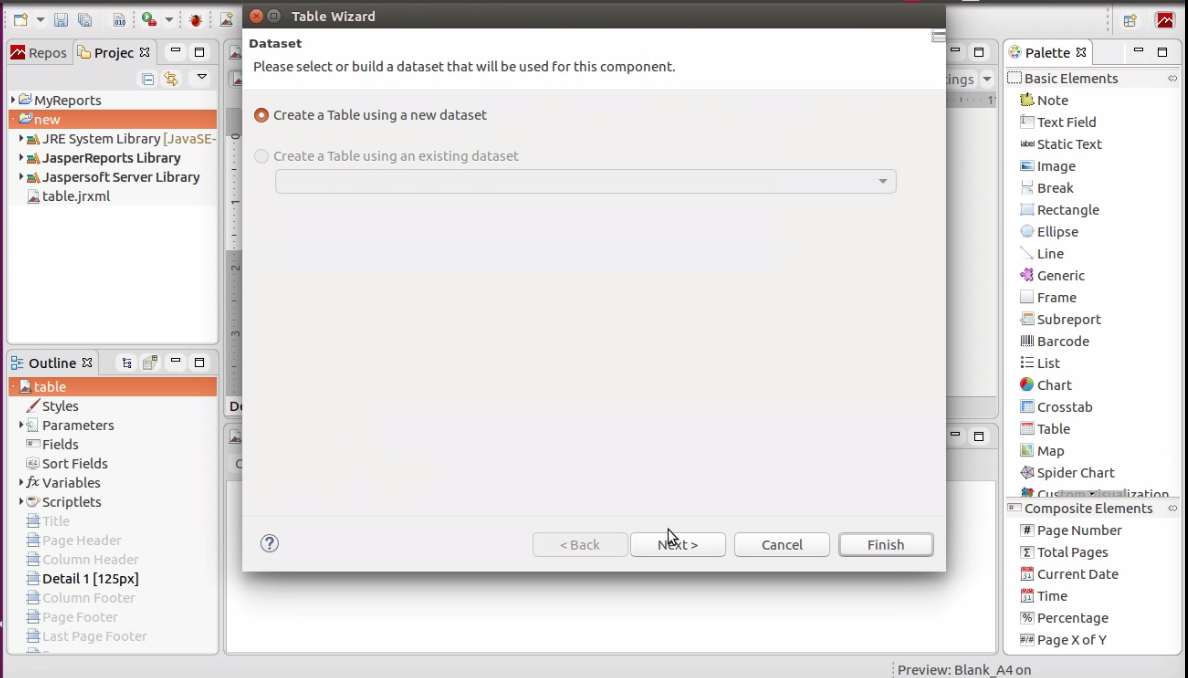
Once you drag the table element into the main report, there will be a popup. In this popup, you can choose whether to create a new data set or using an existing data set. I will create new dataset.
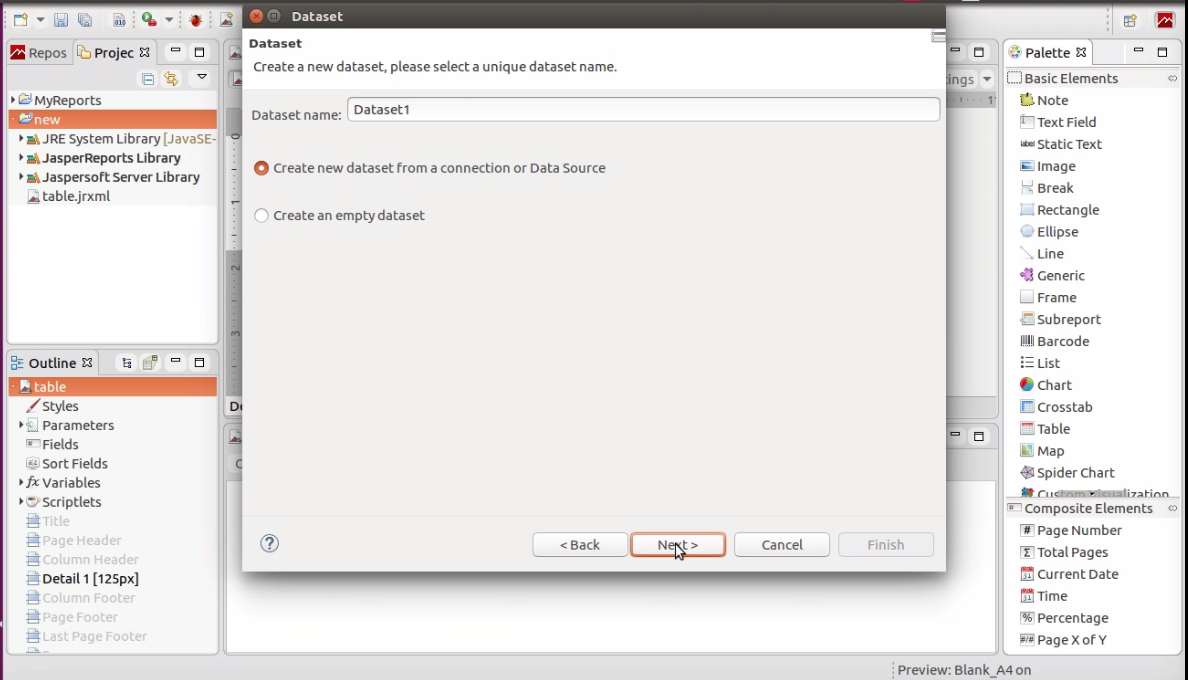
Next screen, I will choose the default option with the default data set name.
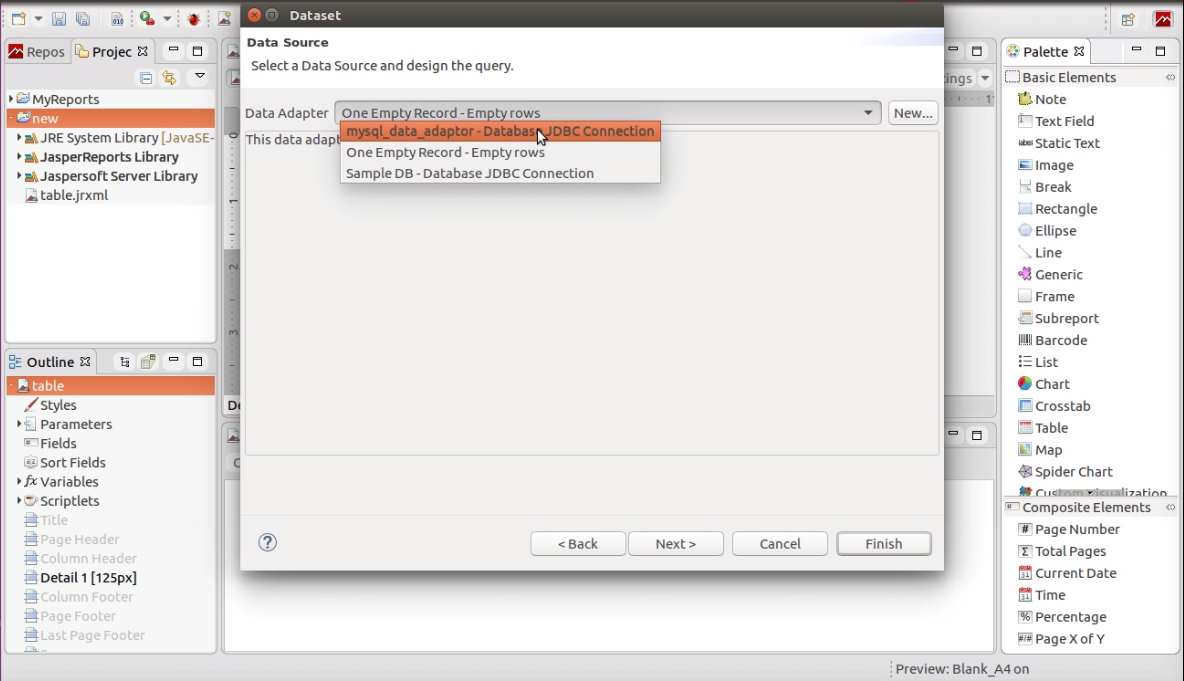
Next screen, we have to select the data adapter. I will choose the JDBC data adapter, which we have created in the previous tutorial.
Next screen, you will see all the databases or schemas you can access with previously selected data adapter.
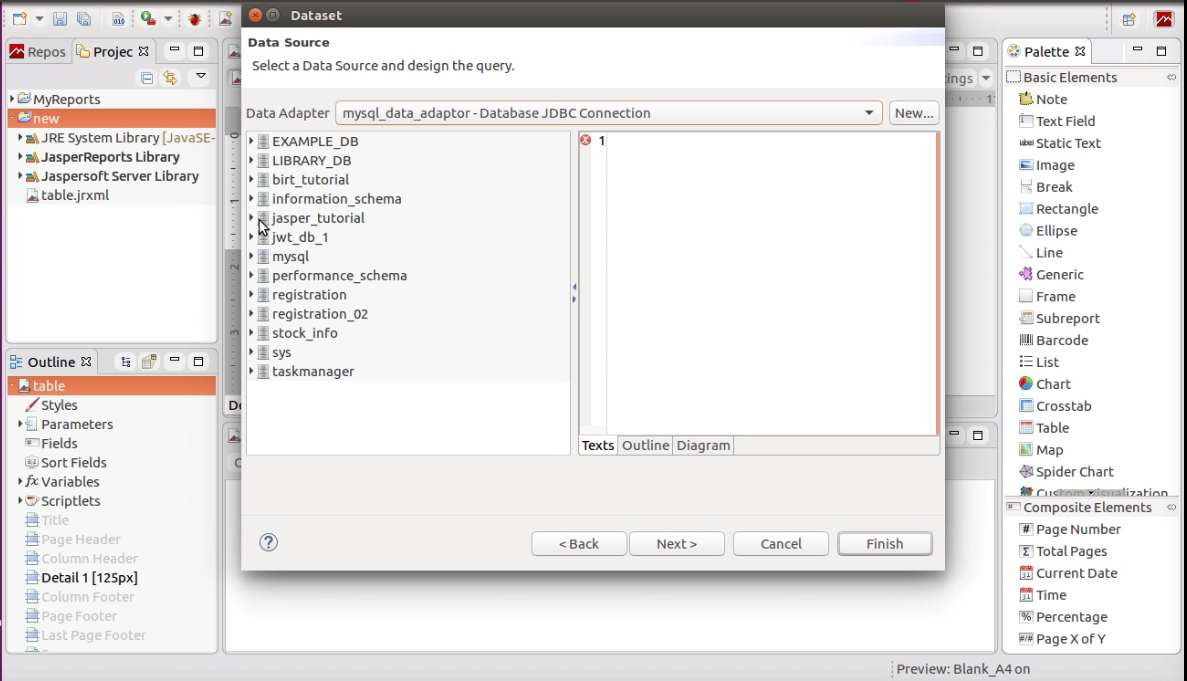
I'm going to expand the jasper_tutorial databases, which are already available in my database. Then you can see all the tables and views available in the database.
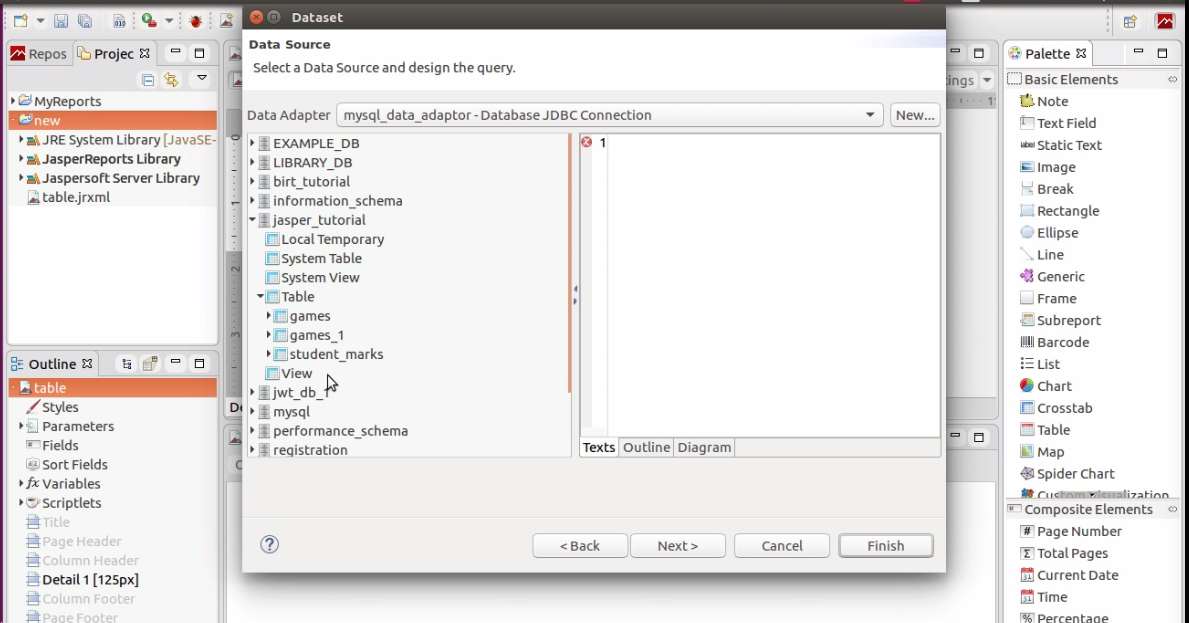
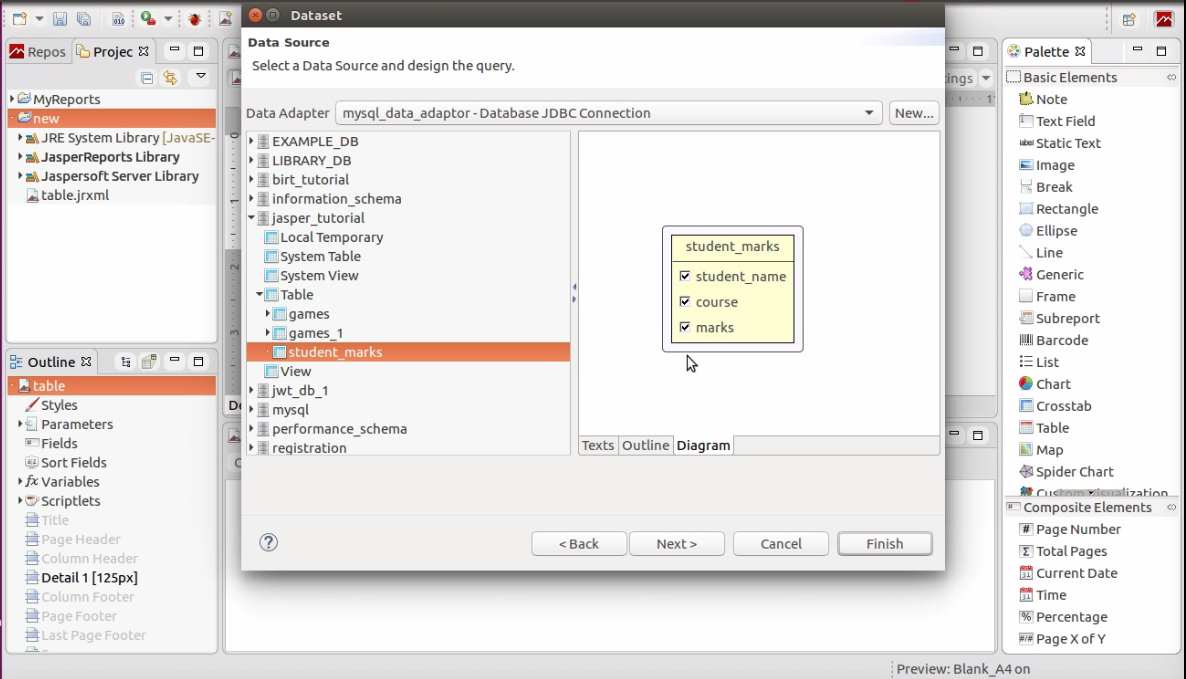
I will drag the student_marks table into the diagram tab in the right sidebar. This way, you can generate a query to extract the data from the database.
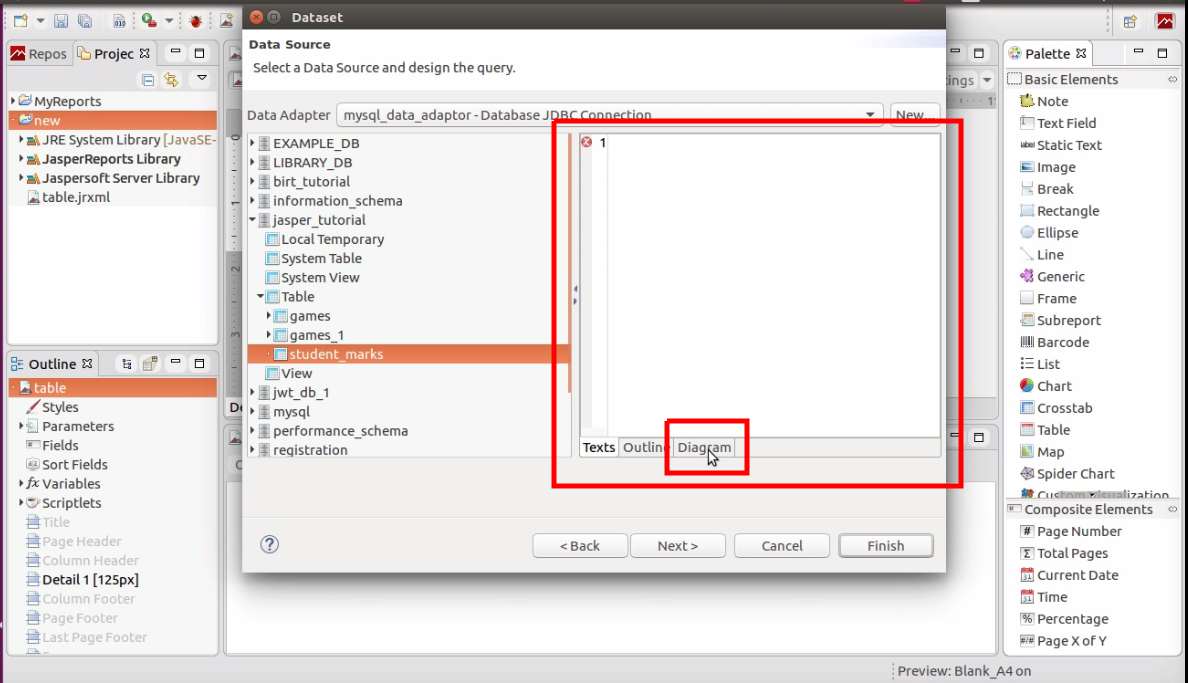
You can generate the query by selecting the required fields from the table. If you want to write a complex query, you can use the Text tab.
In the next screen, you can select the fields which you like to display in the report.
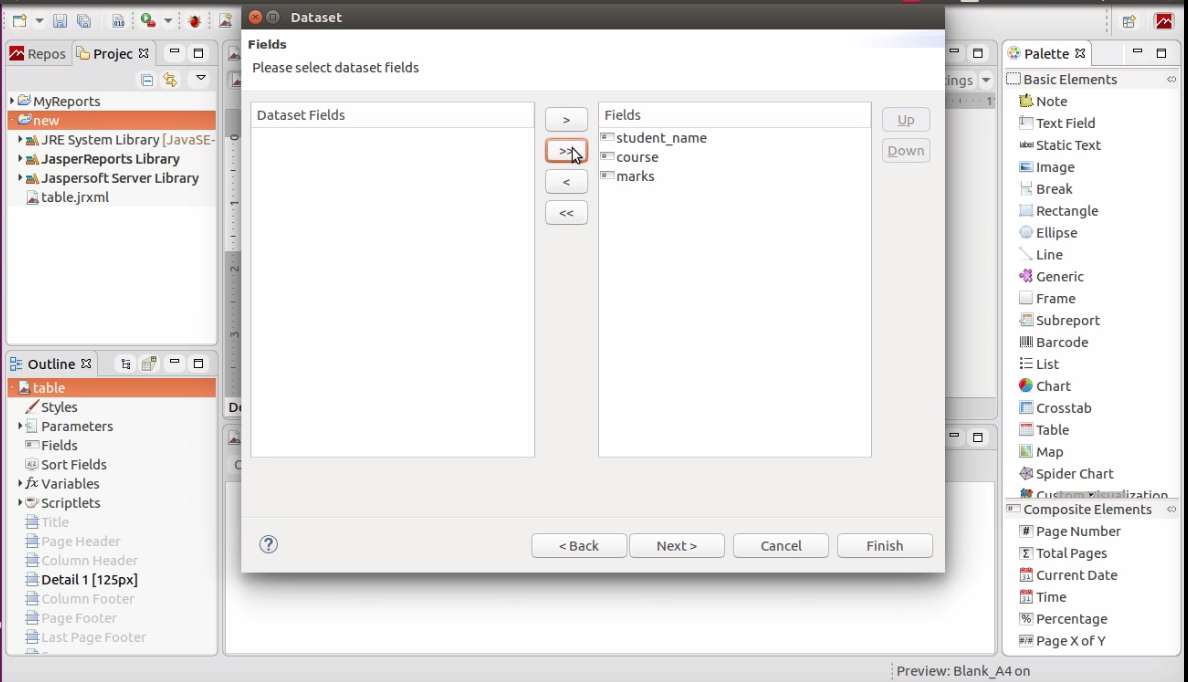
In the next screen, you can select the fields which you like to display in the report.

I'm going to skip the next couple of screens until Layout scree. You can follow the video for more details. I'm only going to keep the header and the footer for the table.
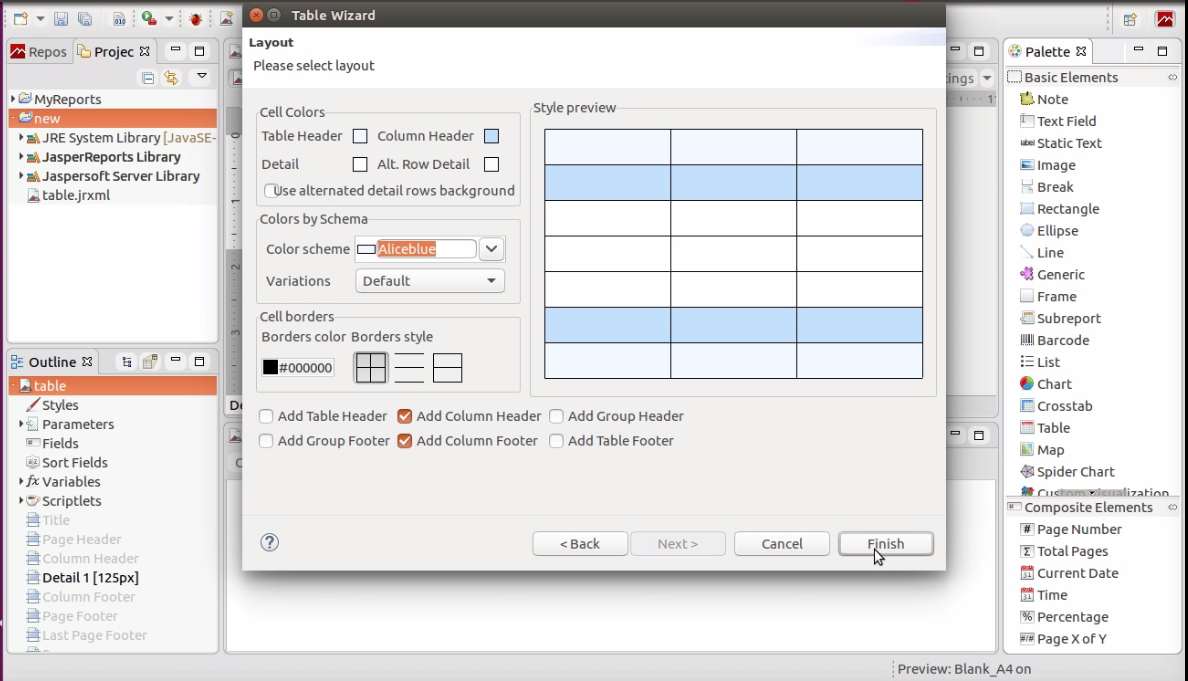
Click Finish.
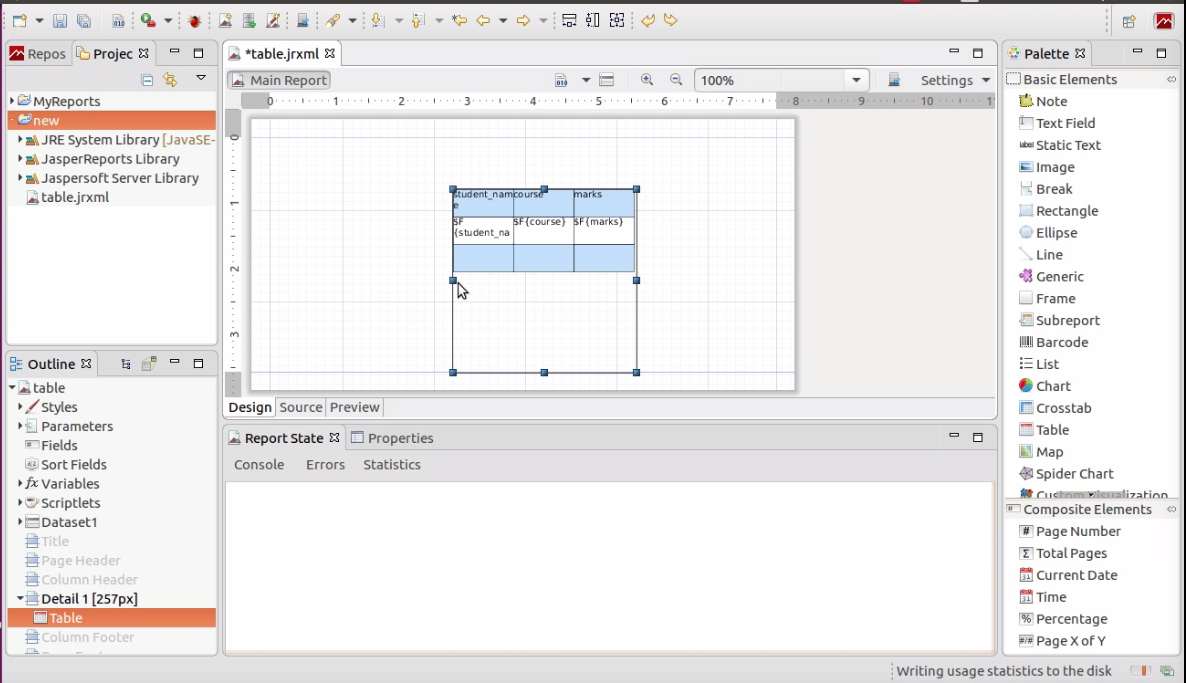
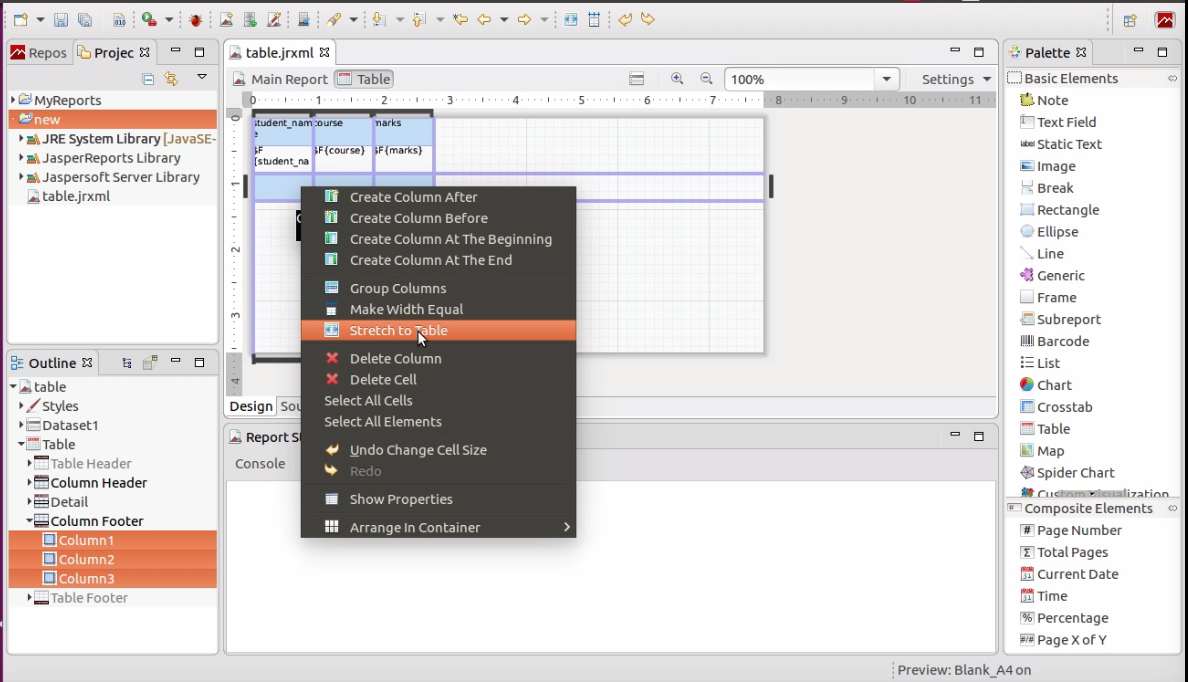
Resize and place the layout as you wish. Then double click on the table layout.
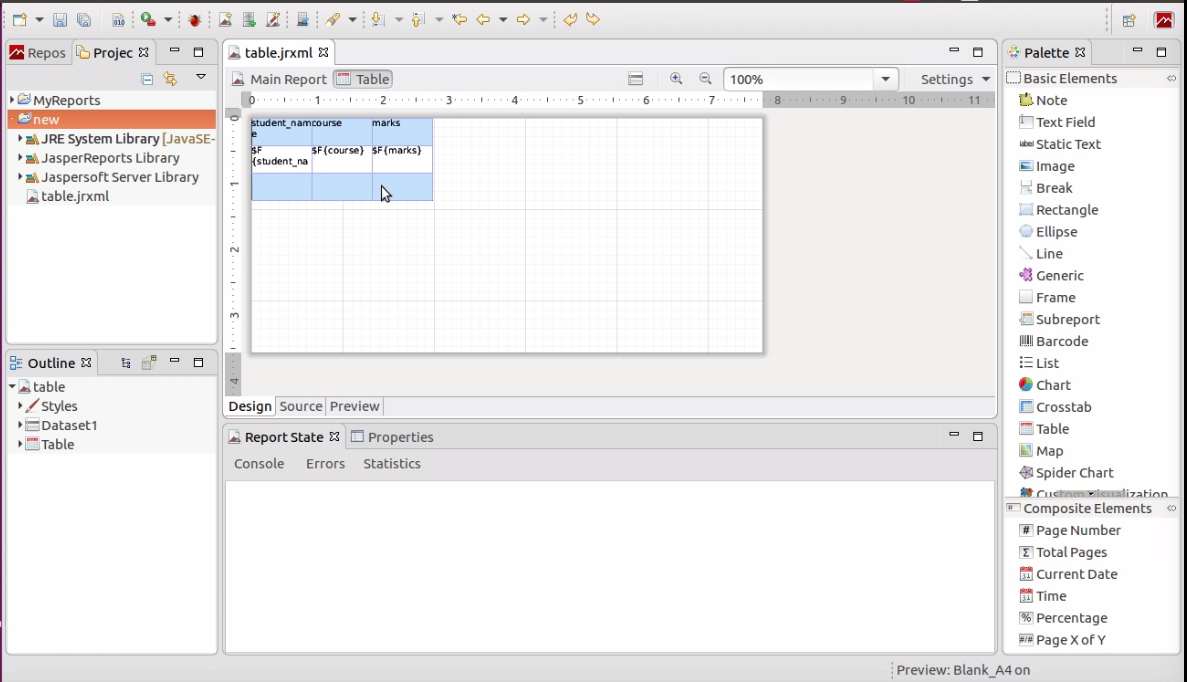
You can follow the video to customize the table layout with more options. I want to change the table width equal to the page width. So here I'm selecting Strech to Table option.
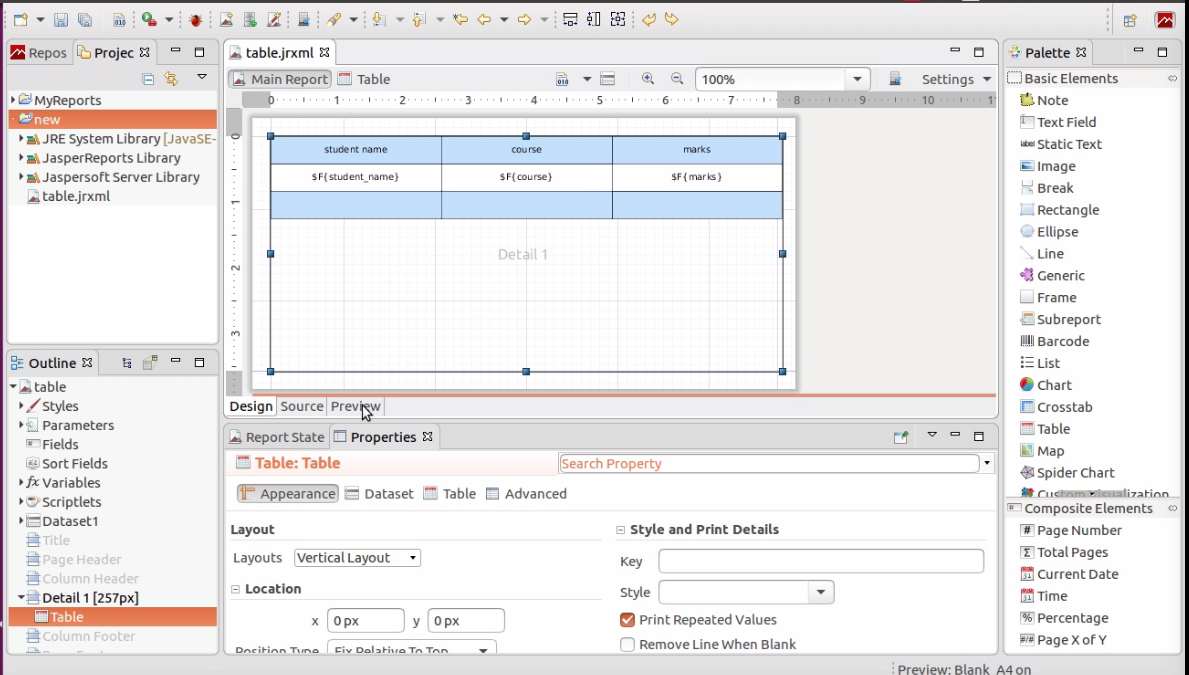
Almost finished. Let's preview our report. Click on the Preview tab.
In this screen, you have an option to change the data source. If you want to export the report, on this screen, you have an option for that also.
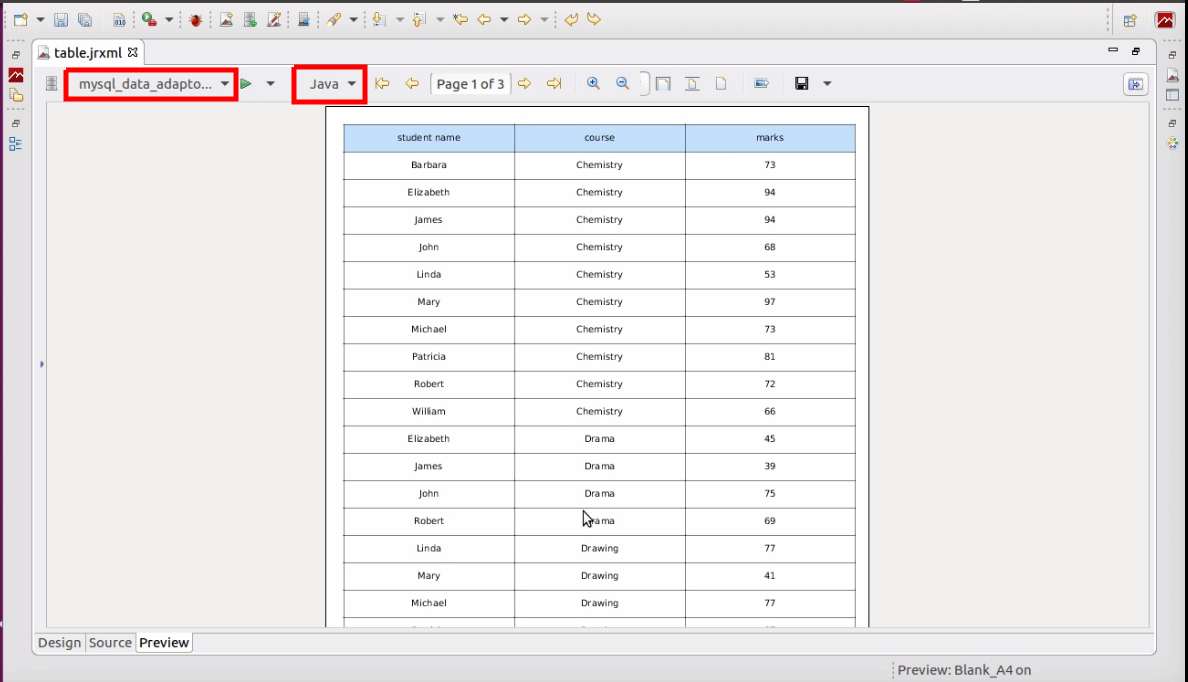
We have created our first jasper report example about the jasper report table element.
For more information, check out our video.